Hi,
I recently bought a new Rigol DS1074Z which is a great oscilloscope for hobbyist. The feature to price factor was really great and it also has a quite nice reviews, so I decided to give it a try :)
Quick hardware overview #
It is a 4 channel oscilloscope with 100 MHz bandwidth, 1 GSa/s and 24 Mpts memory depth. Depending on your need you may use the scope independently or connect it to computer for further processing.
Because the scope itself doesn’t have a build in one wire decoder and I want to decode one wire stuff so I was planning to use a PulseView from a sigrok suite.
The scope has a possibility to use the USB connection using bundled cable or use the ethernet port. I choosed the second because of flexibility.
Of course I am not using Windows, so I was only taking into account a linux and opensource software to control this scope.
I was certain that using the scope which has a supported status in sigrok will be easy cake, but as it happen often - it is at the time of writing this post - not quite true…
First problem is that memory acquisition to sigrok is not working, while Live waveforms has a too weak resolution to be able to decode a 1-wire.
I’ve reported the problem to sigrok bugzilla.
Because directly using a sigrok was a no-go, so I just search for different software which is able to control the scope and specifically obtain a wavefrom from my its memory.
In the following text you’ll find my way to achieve this goal…
Obtaining memory waveform data #
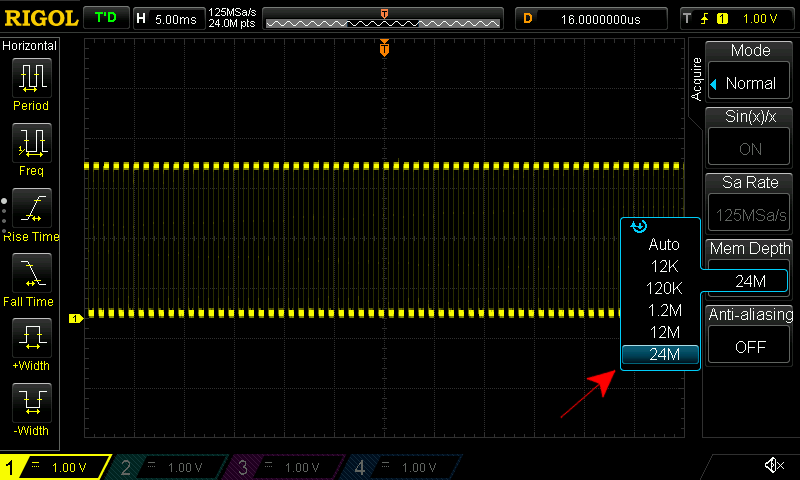
First I’ve set a Memory Depth to 24M of sampled symbols:
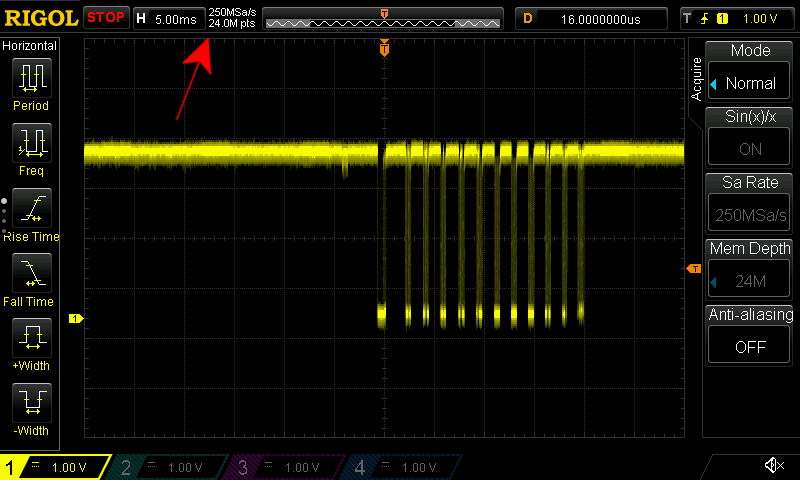
Next I’ve triggered a one wire sequence and noted the sample rate (it will be important later). In this example it is 250MSa/s.
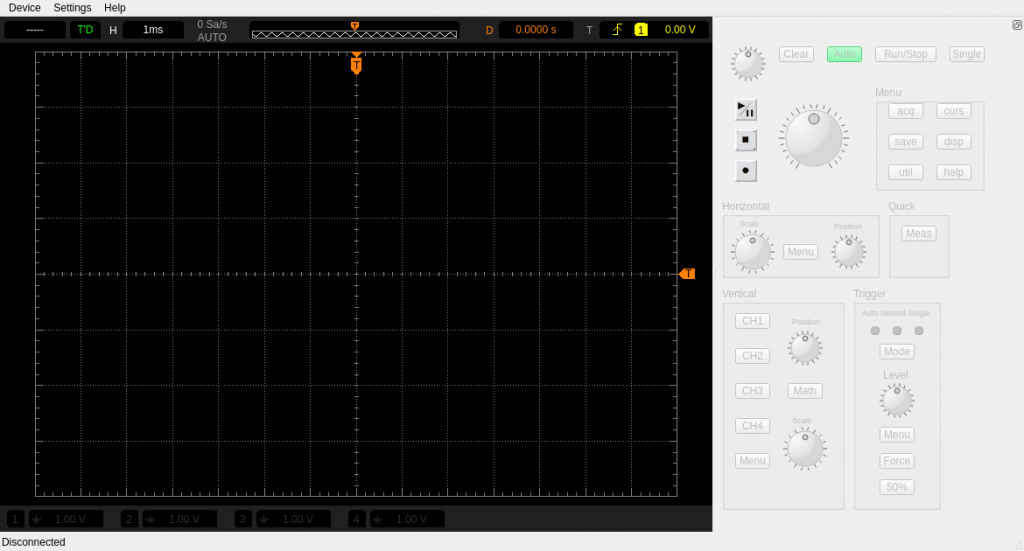
After a quick googling I found a nice tool: DSRemote written by Teuniz.
I’ve compiled and installed it. After starting you can see the main screen:
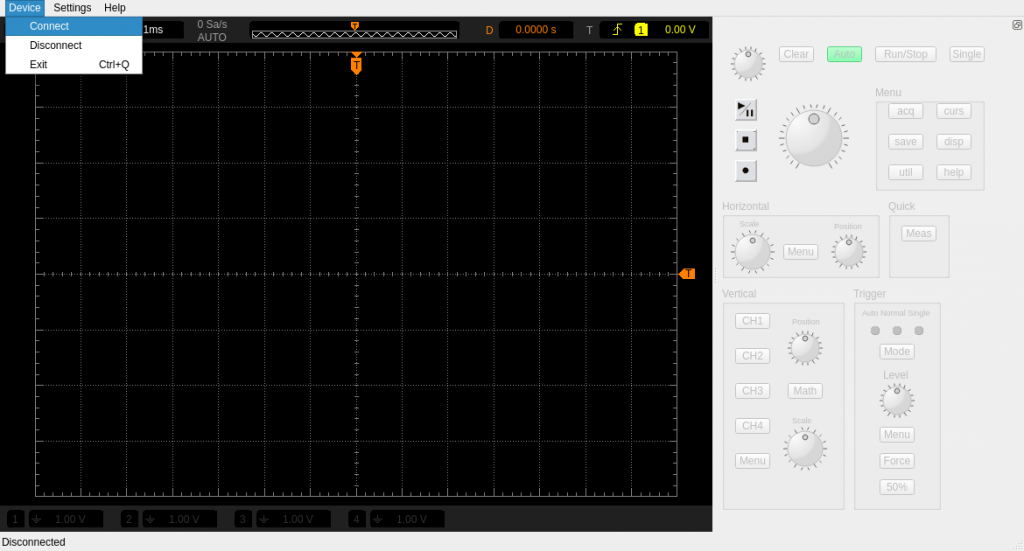
The scope by default is obtaining the address from a DHCP server when starting or plugging in the LAN cable. After this you may configure IP address in the Settings and then connect to the scope:
After connecting - the tool is constantly (with specified interval) obtaining the main waveform from oscilloscope screen:
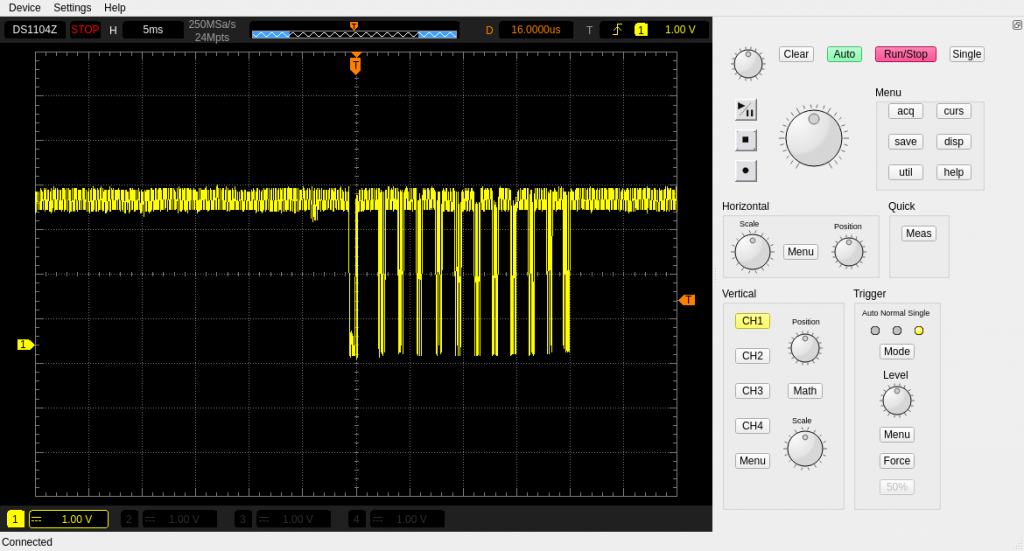
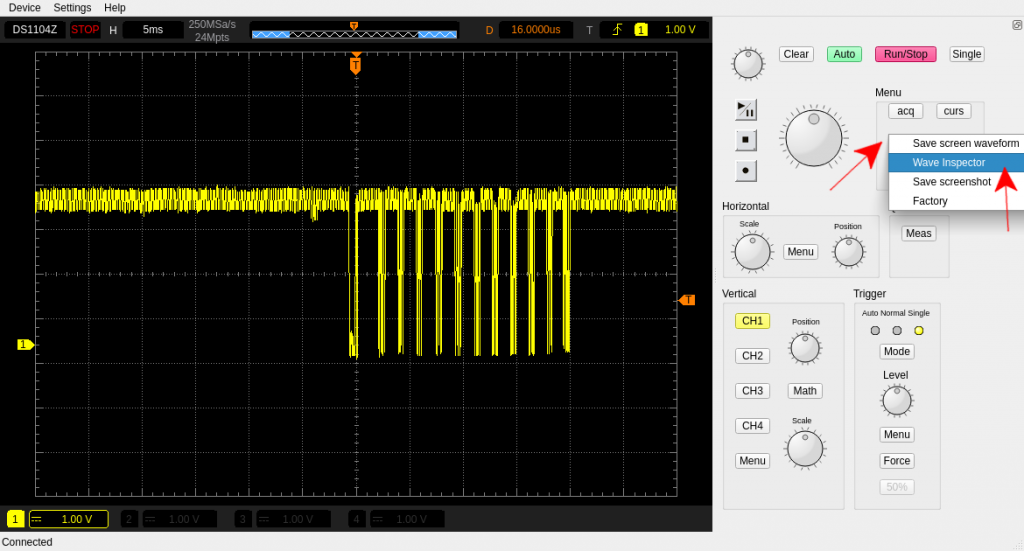
The resolution is rather only for preview purposes and if you want to analyze the data you need to acquire the full wave data. Click the save menu and select Wave Inspector:
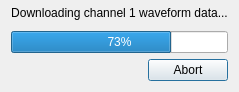
Now the full-resolution waveform is downloaded from the scope:
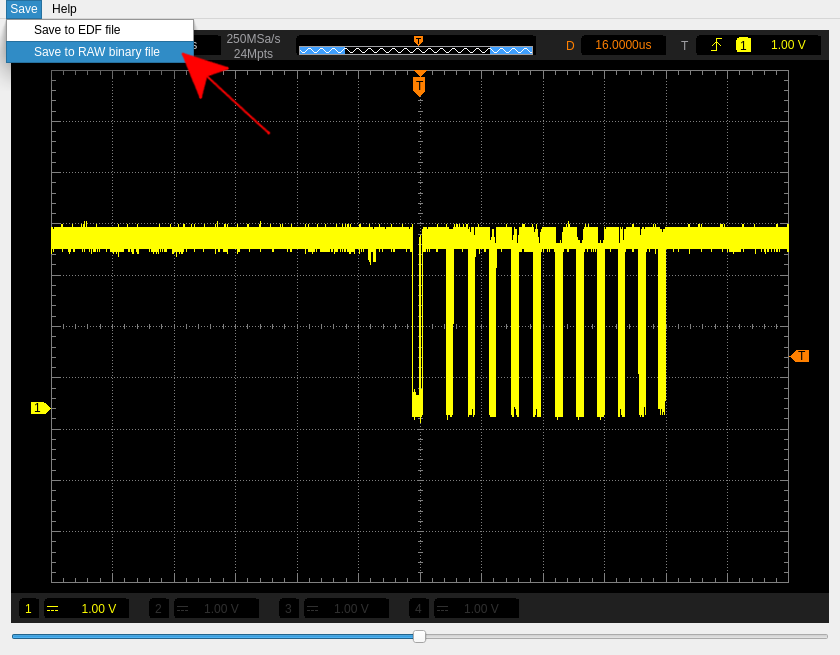
After downloading a new Wave Inspector window will appear. You can analyze the waveform or save it to external file. As the only way of exporting was the EDF format, which is rather exotic one (at least for me), so I’ve added a support for a RAW binary file output:
After saving the file in RAW binary format you will be able to use the PulseView… :)
PulseView 1-Wire analyse #
A PulseView is a excellent open-source tool for software signal analyzing!
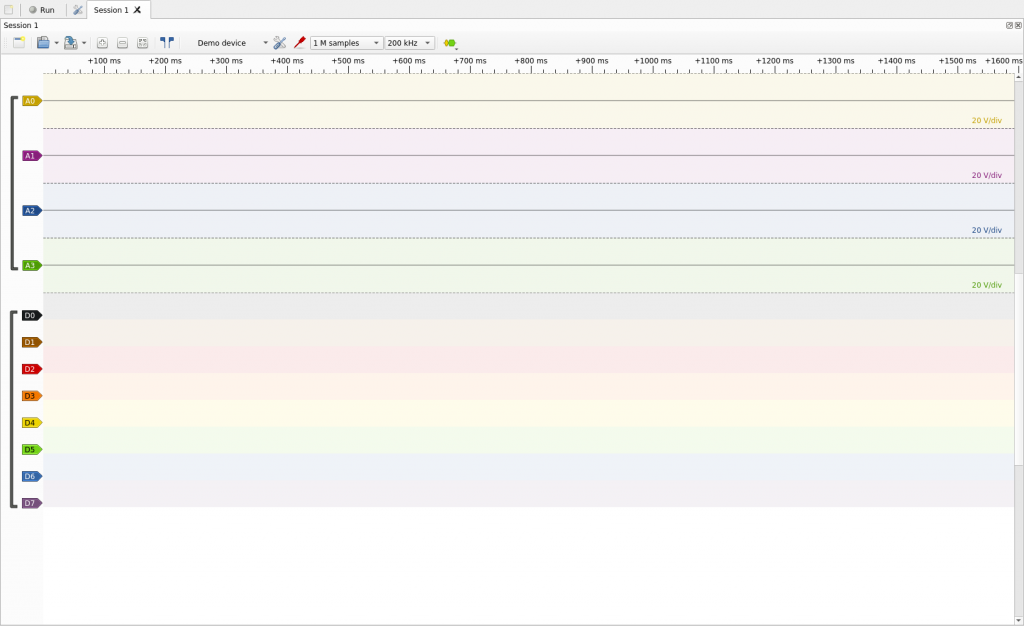
If you start it for the first time you can see the demo session:
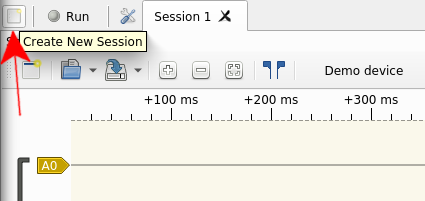
To create a new session click on the white square:
To import the data file in this new new session you need to click on arrow on the right of the Open icon:

Now select Import RAW analog data without header option and point the file you saved from DSRemote.
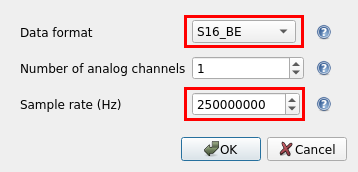
Saved file has a constant value of saved samples and it has only a binary data. You need to set additional information to have a proper data and its timing after load.
In our case we set the memory depth to 24M. Each sample is saved as 16 bit big-endian signed value. And as we noted the memory depth and sample rate at the beginning (after data are triggered) then we need to set the following parameters of RAW file:
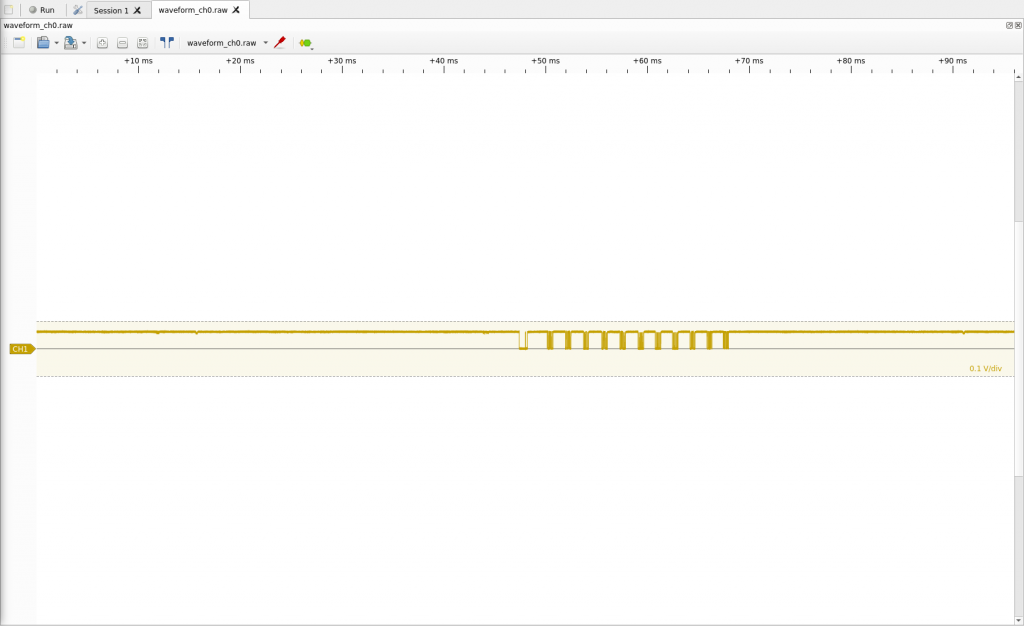
Click OK and PulseView will load the data:
As the data is a analog waveform you need to convert it to logical to be able to do protocol decoding. Click on yellow CH1 source name and set conversion to logic via schmitt-trigger:
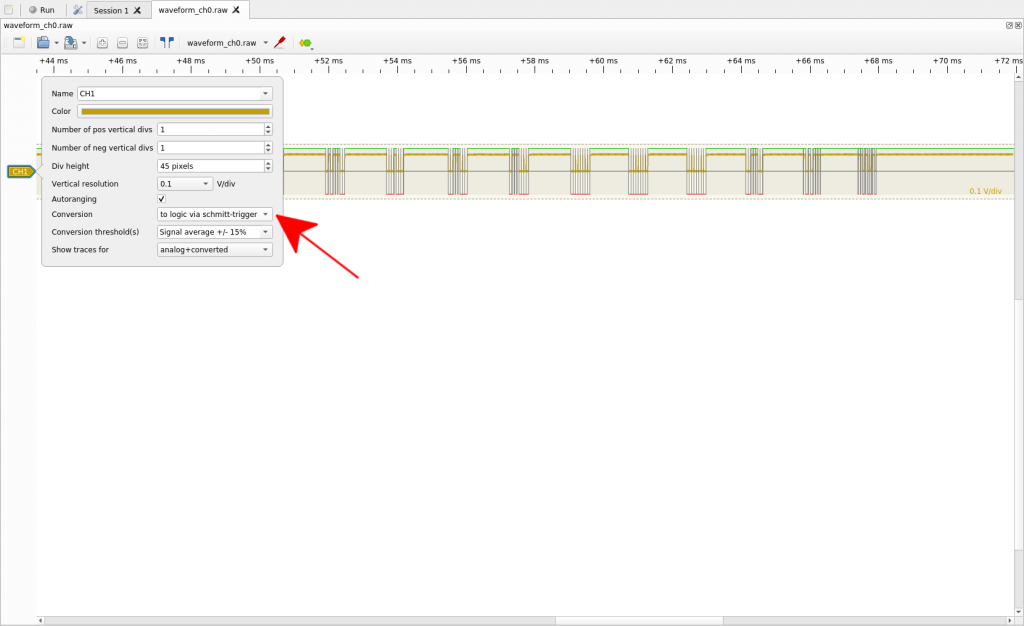
The schmitt-trigger is a must because of fluctuations of raw analog data which can cause problems without this conversion type.
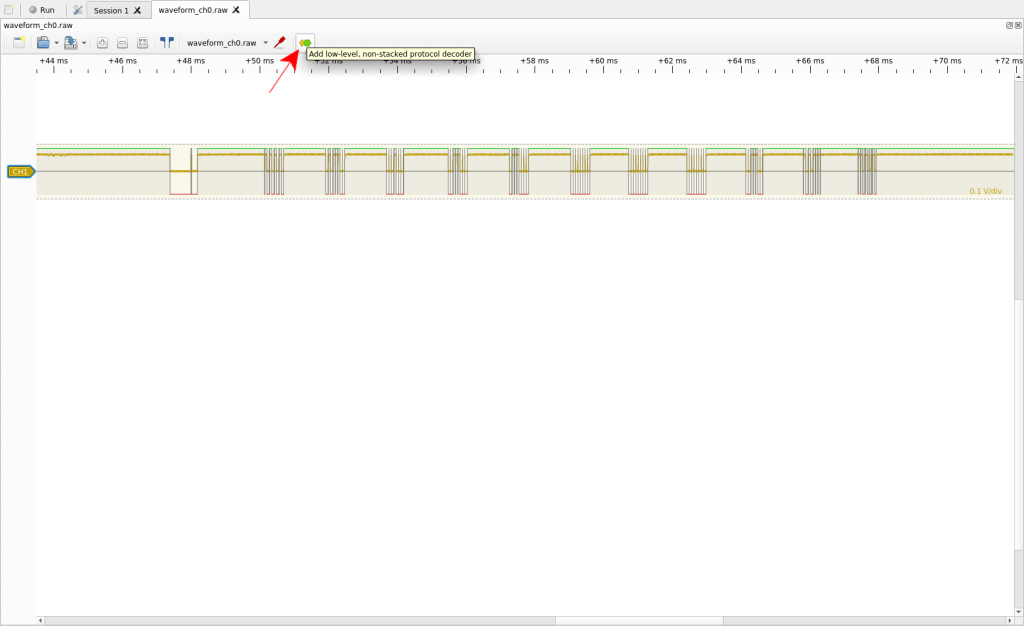
Now the last part - adding a decoder. Click Add low-level, non-stacked protocol decoder and select 1-Wire link layer:
The decoder is not associated without any logical data at the beginning, so you need to click on it and select CH1:
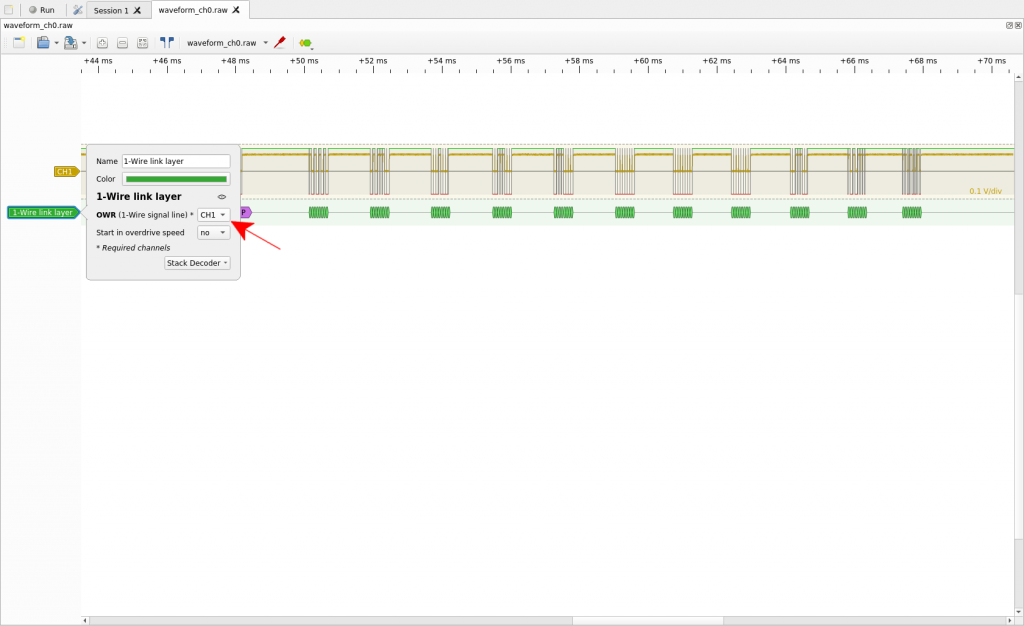
Now we can see the 1-Wire protocol data, but it is a link layer so we see a Reset/Presence pulses and decoded bits only.
Now you can add a so-called Stack Decoder on top of 1-Wire link layer:
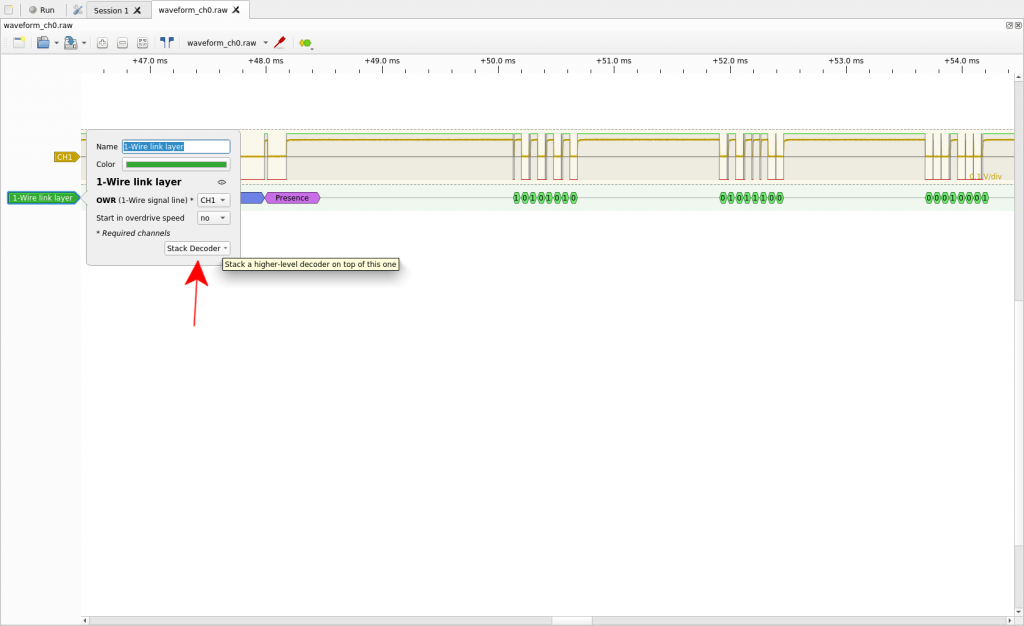
Select 1-Wire network layer and Voila!
We finally have a decoded one wire data:
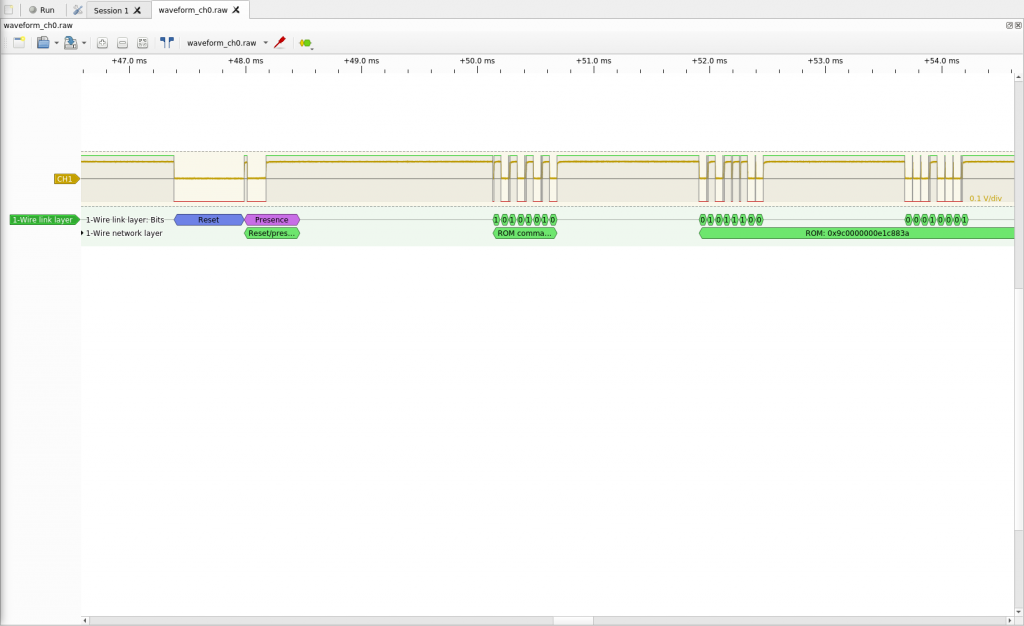
That’s all for now! Enjoy and have fun! :)