Intro #
Recently I bought Raspberry Pi Zero 2 W for my electric car project:
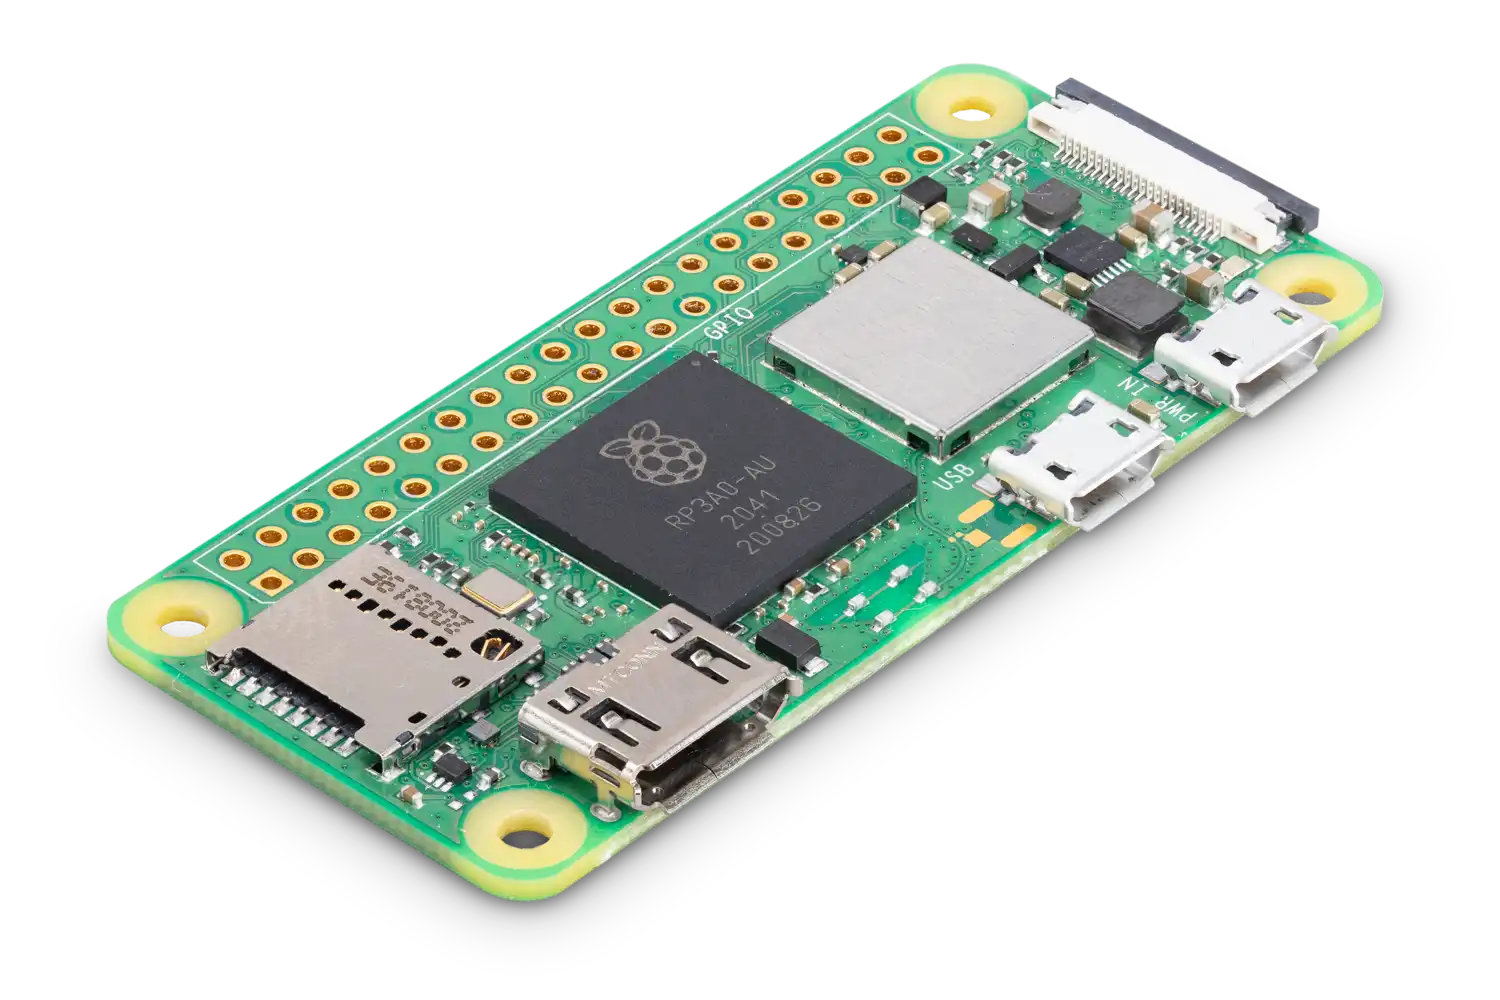
It is very neat board with a good pricing. As I am lazy I didn’t even wanted to connect keyboard and HDMI (or UART) - I just wanted to be able to connect to it remotely using ssh. It was all, what I needed. I thought that preparing an official SD card with Raspberry Pi OS for headless boot will be piece of cake.
Oh… I was wrong :)
TL;DR #
This article is about manually preparing a headless SD card image. If you’re not familiar with below stuff/commands I recommend to use a tool called Raspberry Pi Imager (read last paragraph below).
Current state #
I know that this article may be outdated soon as Raspberry are changing software (and distros regularly), so I only want to say that the following tutorial was written 27.02.2024 and the version/sha of the Raspberry Pi OS which I am referring to (and downloaded) is:
9ce5e2c8c6c7637cd2227fdaaf0e34633e6ebedf05f1c88e00f833cbb644db4b 2023-12-11-raspios-bookworm-arm64-lite.img.xz
Release date: December 5th 2023
Preparing SD card #
Saving an image was the easiest part: I’ve fetched the official Raspberry Pi OS Lite from official site, checked the SHA256 checksum and dd it on SD card.
Then I followed some tutorials and yt films. As the result I mounted the boot partition, and created an empty ssh file on it. This should enable automatic start of the ssh service. I also added specially crafted wpa_supplicant.conf with my WiFi settings.
SSH and WiFi connection #
As according to the tutorials that was all, so I unmounted the card and booted the Pi. Unfortunately looking inside my Access Point, I didn’t see any connection attempts at all.
I’ve re-plugged the card back to my computer and I saw that the file ssh is gone (this is OK - and just means that it enabled the ssh), but the wpa_supplicant.conf file was still there…
And here starts the long story about inserting the SD into computer, trying some additional changes (like a country setting), putting it back into Pi, waiting, and so on, and so on…
Finally when I was damn sure that the wpa_supplicant.conf should be OK i just used this file in the laptop and … it was working fine!
This leads me to googling more … and I finally found this thread. My problem was that the tutorials was outdated (for the previous bullseye release, while I have bookworm). As the result, I realized that instead of wpa_supplicant I have to create a NetworkManager WiFi profile file (sic!).
I’ve created the file with the following content:
[connection]
id=MYSSID
uuid=11111111-2222-3333-4444-555555555555
type=wifi
interface-name=wlan0
autoconnect=true

[wifi]
mode=infrastructure
ssid=MYSSID

[wifi-security]
auth-alg=open
key-mgmt=wpa-psk
psk=MYWIFIPASSWORD

[ipv4]
method=auto

[ipv6]
method=auto
UUID is just unique ID and should be generated from some wide-available generators (or just leaved as above if you’re lazy ;) ).
The file needs to be named same as the SSID of the network (following above: MYSSID.nmconnection) and placed in: /etc/NetworkManager/system-connections of the system partition. Additionally it has to be chmod-ed to 600 and owned by root.
But this was not enough! I had to create a firstrun.sh file, place it in /boot/firmware of the system partition (the second one with the system, not boot) and make it executable ( +x).
The file has the following contents:
#!/bin/bash
# Stripped back version of the Bookworm firstrun.sh generated by the Raspberry Pi Imager
# also calls raspi-config to set Wifi country, which in turn calls iw on Bookworm
set +e
rfkill unblock wifi
for filename in /var/lib/systemd/rfkill/*:wlan ; do
    echo 0 > $filename
done
raspi-config nonint do_wifi_country GB
# edited to remove a bug in rpi-imager that is a hangover from Bullseye
# rm -f /boot/firstrun.sh
rm -f /boot/firmware/firstrun.sh
exit 0
Without this file the WiFi will not start/work (tested ;))
After all these above steps, I was finally able to see a new connection on the AP and a new DHCP entry on the server! :)
So I was good to go. Work done! Now I was able to log in with SSH and wide-known user pi and password raspberry, right? :)
Not so fast… :D
User #
It quickly turned out, that similar as with changing the wpa_supplicant to NetworkManager, the bookworm also got rid the default pi user. If I want to create specific user (side note: which I wanted because I forgot, that I could just add the public key and not messing with this, but this is another story), I had to create it with special file. Shorting the article:
\[...\] create a file called userconf or userconf.txt in the boot partition of the SD card
This file should contain a single line of text, consisting of username:encrypted-password
Password can be generated with:
echo 'mypassword' | openssl passwd -6 -stdin
After this, a user was created indeed and finally I was able to remotely login via SSH!
The easy way #
At the end I have to mention that if you use Raspberry Pi Imager then all this stuff can be configured with this tool. But this is a GUI tool (QT if I remember correctly) and of course it has to be installed separately.